Canva: Introduction
Canva – Embrace what it offers, and let your creativity flourish in the digital realm! In today’s digital age, effective visual communication is a key component of personal and professional success. Whether you’re a business owner, a social media enthusiast, or a student working on a project, having the ability to create visually appealing content is crucial. Enter Canva, a powerful and user-friendly graphic design tool that has revolutionized the way we approach design. In this course, we shall discuss the very basics of Canva including the advanced features and its commendable integration capabilities to blend in with your daily use software.
- Chapter 1: Unveiling Canva – A Brief Overview
- Chapter 2: Creating Your Canva Account
- Chapter 3: Navigating the Canva Interface
- Chapter 4: Understanding Canva’s Design Tools
- Chapter 5: Crafting Stunning Designs with Canva Templates
- Chapter 6: Mastering Canva’s Advanced Features
- Chapter 7: Tips and Tricks for Efficient Canva Workflow
- Conclusion:

Chapter 1: Unveiling Canva – A Brief Overview
In this chapter, we’ll delve into the basics of Canva, exploring its origin, purpose, and the myriad of possibilities it offers. From its humble beginnings to its current status as a go-to design platform, understanding Canva’s roots sets the stage for a successful design journey.
Canva, a powerhouse in the realm of graphic design, has undergone a transformative journey from its modest inception to its current status as an indispensable tool for creators worldwide. The roots of Canva trace back to 2012 when Melanie Perkins, Cliff Obrecht, and Cameron Adams founded the platform with a vision to democratize design. Their goal was to empower individuals with limited graphic design skills to create professional-looking visuals effortlessly.
The purpose of Canva resonates with its founders’ commitment to breaking down the barriers to design. By providing an intuitive, user-friendly interface and a vast library of templates, Canva has enabled people from diverse backgrounds to express their creativity without the need for extensive technical know-how. This democratization of design has fueled Canva’s rise as a go-to platform for not just professionals but also students, entrepreneurs, and anyone seeking to communicate visually.
Chapter 2: Creating Your Canva Account
Embarking on your Canva adventure begins with creating an account. This chapter guides you through the simple yet crucial steps of setting up your Canva account, ensuring you have access to all the features and resources necessary for your creative endeavors.
Setting sail on your Canva journey is an exciting endeavor that commences with the fundamental step of creating your account. This pivotal chapter serves as your compass, guiding you through the straightforward yet essential process of setting up your Canva account. As you embark on this creative voyage, the significance of these initial steps cannot be overstated—they lay the foundation for your exploration of Canva’s expansive realm of design possibilities.
To initiate your Canva experience, navigate to the user-friendly sign-up interface where you’ll be prompted to provide basic information such as your email address and a secure password. This streamlined registration process ensures that you swiftly gain access to the treasure trove of features and resources that Canva offers.
Chapter 3: Navigating the Canva Interface
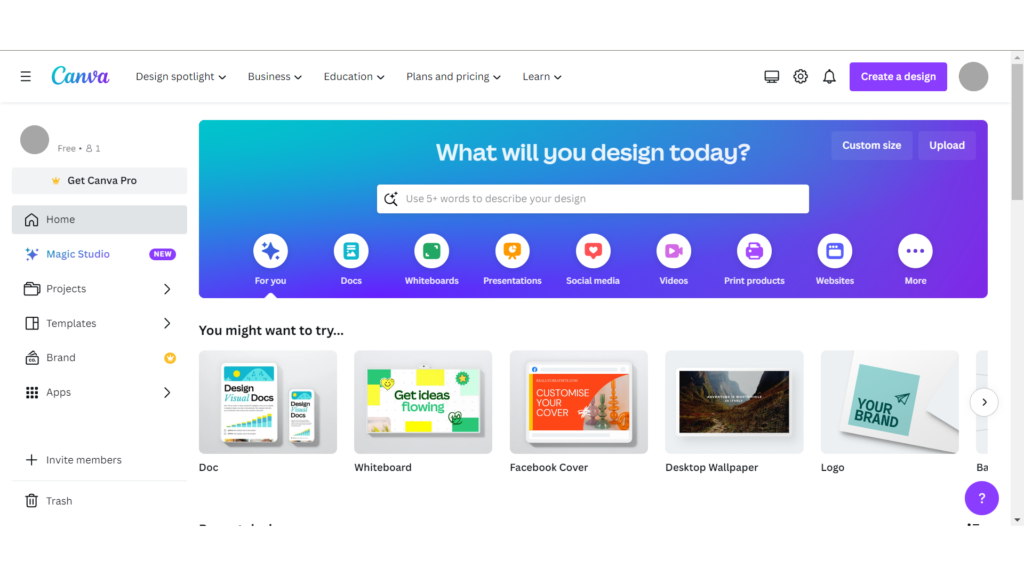
Now that you’re part of the Canva community, it’s time to familiarize yourself with the platform. This chapter provides an in-depth exploration of the Canva interface, from the main dashboard to the various design tools at your disposal. By the end of this chapter, you’ll feel confident and ready to navigate Canva like a pro.
The heart of your creative endeavors lies in the main dashboard, a central hub where your artistic visions come to life. Take a moment to familiarize yourself with its layout, discovering the seamless integration of tools and features that await your exploration. From here, you’ll set the stage for a myriad of design possibilities.
Delve into the wealth of design tools that Canva puts at your fingertips. Uncover the magic of elements such as text, images, and illustrations, each contributing to the tapestry of your creations. Learn to wield the power of layers, mastering the art of arranging and organizing your design components with precision. With every click and drag, you’ll feel the transformative energy of your ideas taking shape.
Chapter 4: Understanding Canva’s Design Tools
Canva boasts an impressive array of design tools that cater to both beginners and seasoned designers. This chapter breaks down the essential tools, such as templates, elements, and text, providing step-by-step instructions on how to use them to bring your creative visions to life.
Let’s explore some key tools, their applications, and the steps to wield their creative potential:
Text Tool:
Use:
- Add textual elements to your designs, including headings, subheadings, and body text.
Steps:
- Click on the “Text” tab on the left sidebar.
- Choose a text style.
- Click anywhere on your canvas and start typing.
- Customize font, size, color, and alignment using the toolbar.
Elements Tool:
Use:
- Access a diverse library of elements such as shapes, icons, stickers, and more.
Steps:
- Navigate to the “Elements” tab on the left.
- Choose the desired category or search for specific elements.
- Click and drag an element onto your canvas.
- Resize, rotate and customize its color as needed.
Image Upload Tool:
Use:
- Import your images to incorporate personalized visuals into your designs.
Steps:
- Click on the “Uploads” tab on the left.
- Upload images from your device.
- Drag the uploaded image onto your canvas.
- Resize and position it accordingly.
Background Tool:
Use:
- Set the tone for your design with customizable backgrounds.
Steps:
- Click on the “Background” tab.
- Choose a solid color, or gradient, or upload an image.
- Adjust opacity, color intensity, and other settings.
Layers Tool:
Use:
- Manage the stacking order of elements to control their visibility.
Steps:
- Click on the “Layers” tab.
- Arrange elements by dragging them up or down in the layer stack.
- Hide or lock layers as needed.
Resize Tool:
Use:
- Modify the dimensions of your design to suit different platforms or formats.
Steps:
- Click on the “File” menu.
- Select “Resize” and choose a predefined size or enter custom dimensions.
Collaboration Tools:
Use:
- Work seamlessly with team members on a design project.
Steps:
- Click on the “Share” button in the top right.
- Invite collaborators via email and set their permissions.
Chapter 5: Crafting Stunning Designs with Canva Templates
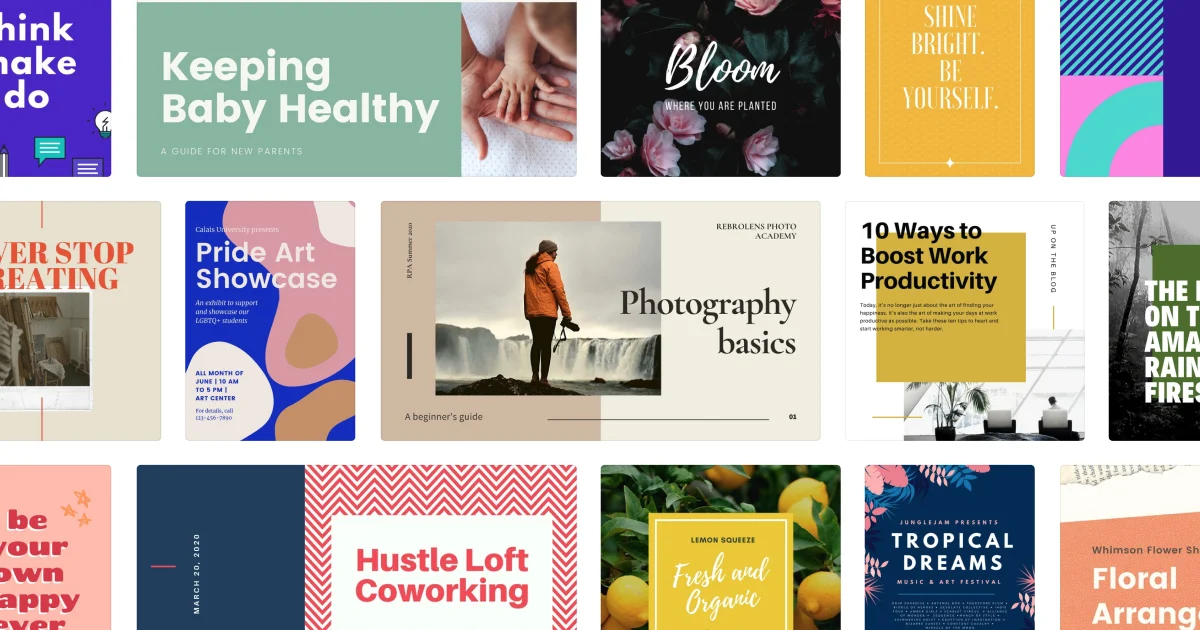
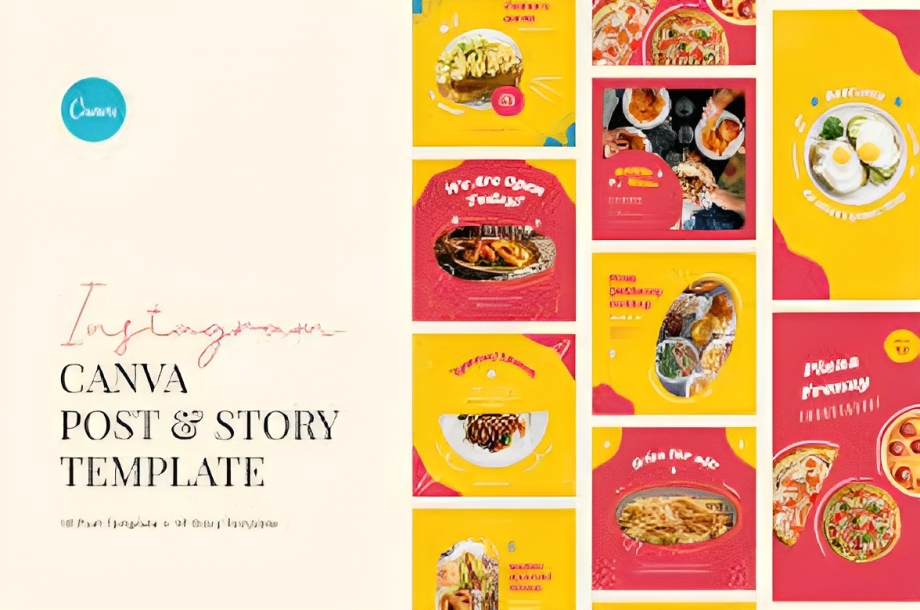
Canva’s extensive template library acts as a treasure trove, providing a diverse array of design starting points. Whether you’re aiming for a sleek corporate presentation or a vibrant social media post, Canva’s templates offer a solid foundation. However, the true magic lies in the ability to customize these templates to align with your unique vision.
Discover the art of effective customization as this chapter unveils strategies to breathe life into your designs. From manipulating color schemes to refining typography, each element of a template becomes a brushstroke on the canvas of your creativity.
Chapter 6: Mastering Canva’s Advanced Features
As you progress in your Canva proficiency, delving into the platform’s advanced features opens up a realm of creative possibilities.
One such avenue is collaboration, where Canva transcends from a solitary design tool to a collaborative workspace. Embrace the power of shared projects, enabling seamless teamwork as multiple users contribute to a single design. This collaborative environment not only fosters creativity but also streamlines the design process, making it a dynamic and efficient experience.
Animation is another facet of Canva’s advanced toolkit that propels your designs into a new dimension. Unleash your creativity by incorporating movement into your static designs. From subtle transitions to eye-catching animations, Canva provides a spectrum of options to breathe life into your creations.
Additionally, the utilization of brand kits on Canva exemplifies design consistency and professionalism. Establishing and maintaining a brand identity is crucial, and Canva’s brand kit feature simplifies this process. Store your brand’s colors, fonts, and logos in one centralized space, ensuring that every design aligns seamlessly.
In conclusion, as you navigate through the advanced features of Canva, you unlock a world where collaboration, animation, and brand kits converge to enhance your design journey. These tools not only expand the scope of your creative expression but also empower you to produce professional and cohesive designs that leave a lasting impact. Elevate your Canva skills by embracing these advanced features and watch as your designs evolve into a captivating and cohesive visual narrative. You shall about this in detail further more.
Also Read: Canva : A Comprehensive Guide to Advanced Techniques
Chapter 7: Tips and Tricks for Efficient Canva Workflow
In this chapter, we’ll share valuable tips and tricks to streamline your Canva workflow. From keyboard shortcuts to time-saving techniques, optimizing your design process will make you a more efficient and productive Canva user.
Also Read: Canva: A Step Guide to Integrating Canva with Other Tools
Conclusion:
As we conclude this comprehensive guide to Canva, you should feel empowered to unleash your creativity and design captivating visuals. Whether you’re a beginner or an experienced designer, Canva’s intuitive interface and robust features make it a versatile tool for all your graphic design needs. Embrace the world of possibilities that Canva offers, and let your creativity flourish in the digital realm.


